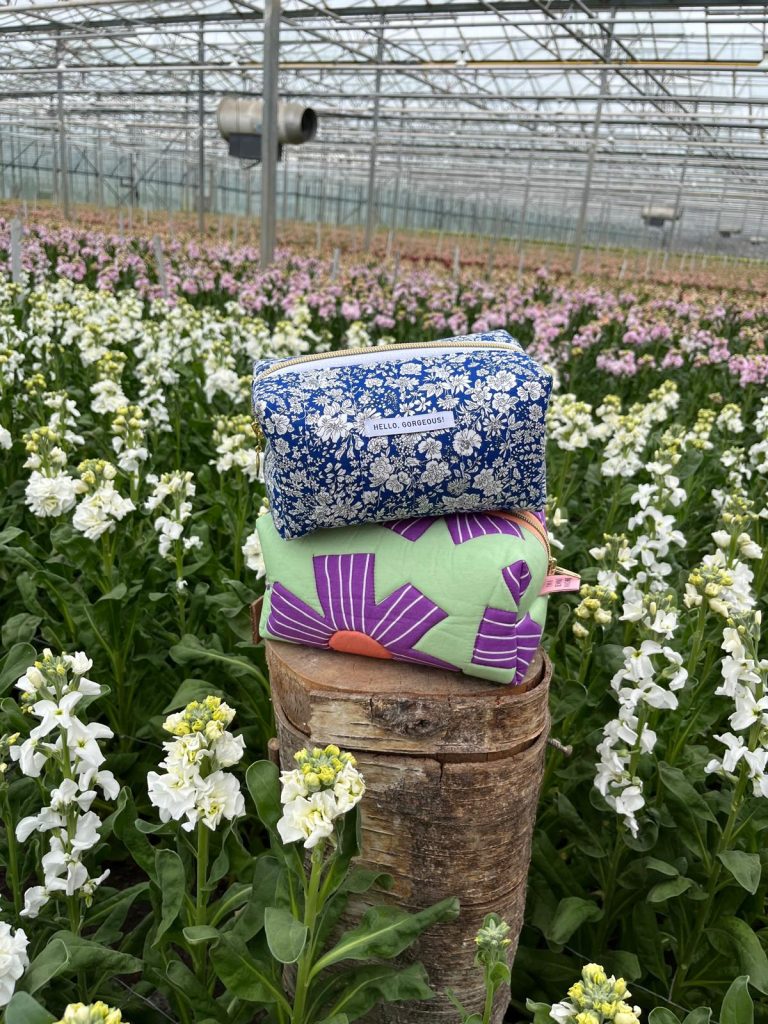

Sew a cute boxy pencil case! The tutorial was created in part by our intern Danielle (April-July 2024). We maintain the tradition that every intern who follows the Fashion Designer course makes at least 1 tutorial. And these pencil cases are a favorite during (children's) sewing lessons, so time for a mini tutorial!Benodigdheden:
- 1x buitenstof 30x40cm katoen/ canvas/ denim/ twill/ gabardine
- 1x binnenstof 30x40cm katoen
- 1x style vil fix 30x40cm
- rits 30cm (met 1 standaard of sier runner)
- leuk labeltje
Supplies:
- 1x outer fabric 30x40cm cotton/ canvas/ denim/ twill/ gabardine
- 1x inner fabric 30x40cm cotton
- 1x style vil fix 30x40cm
- zipper 30cm (with 1 standard or decorative runner)
- nice label
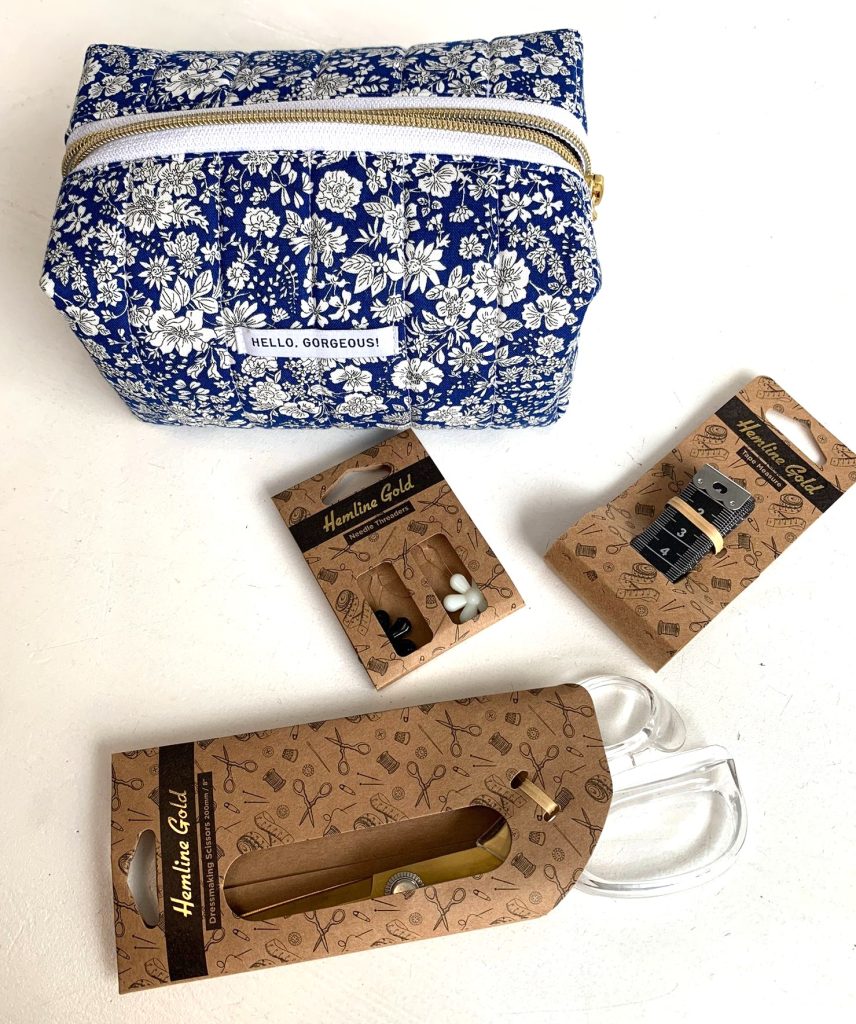
Of koop je Boxy etui Daan pakketje hier via Ansje!
Buy your ready to sew kit here via Ansje!
LET OP BOXY ETUI XL
–> Deze is 40x50cm en de hele tutorial is verder hetzelfde, maar je knipt nu hoekjes van 5x5cm.
–> We hebben selectief vierkantjes doorgestikt voor dat leuke 3D effect
PLEASE NOTE BOXY POUCH XL –> This is 40x50cm and the entire tutorial is the same, but you now cut corners of 5x5cm.
–> We have selectively topstitched squares for that nice 3D effect
Koop hier je Boxy Etui XL pakketje!
Buy your Boxy Etui XL package here!
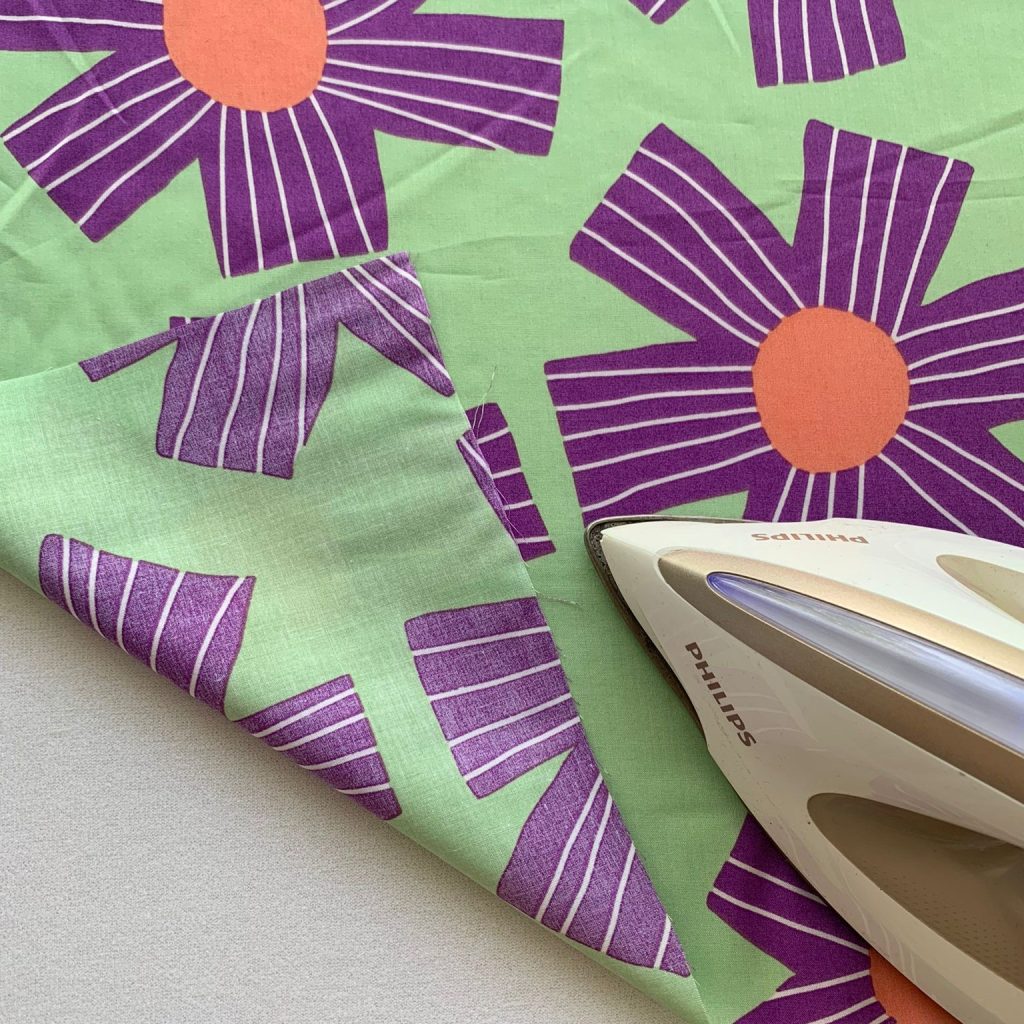
Stap 1. Knip de onderdelen uit en strijk de style vil fix op de buitenstof
Step 1. Cut out the fabric pieces and iron the style vil fix onto the outer fabric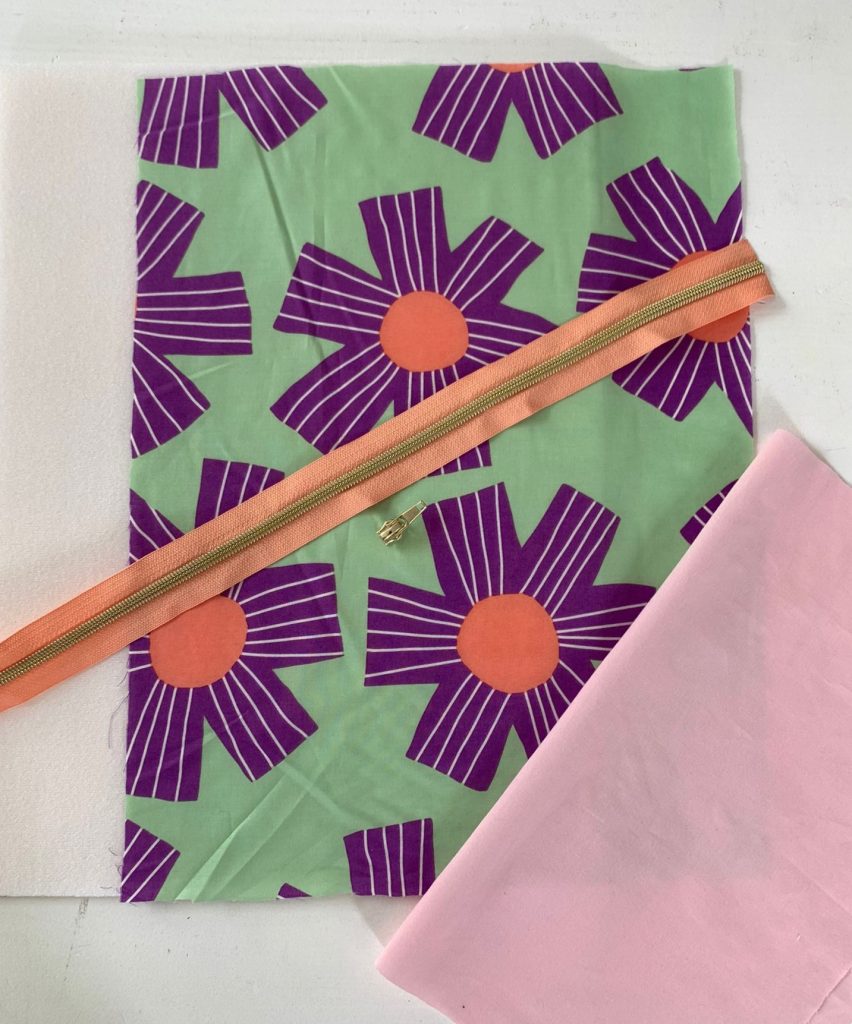
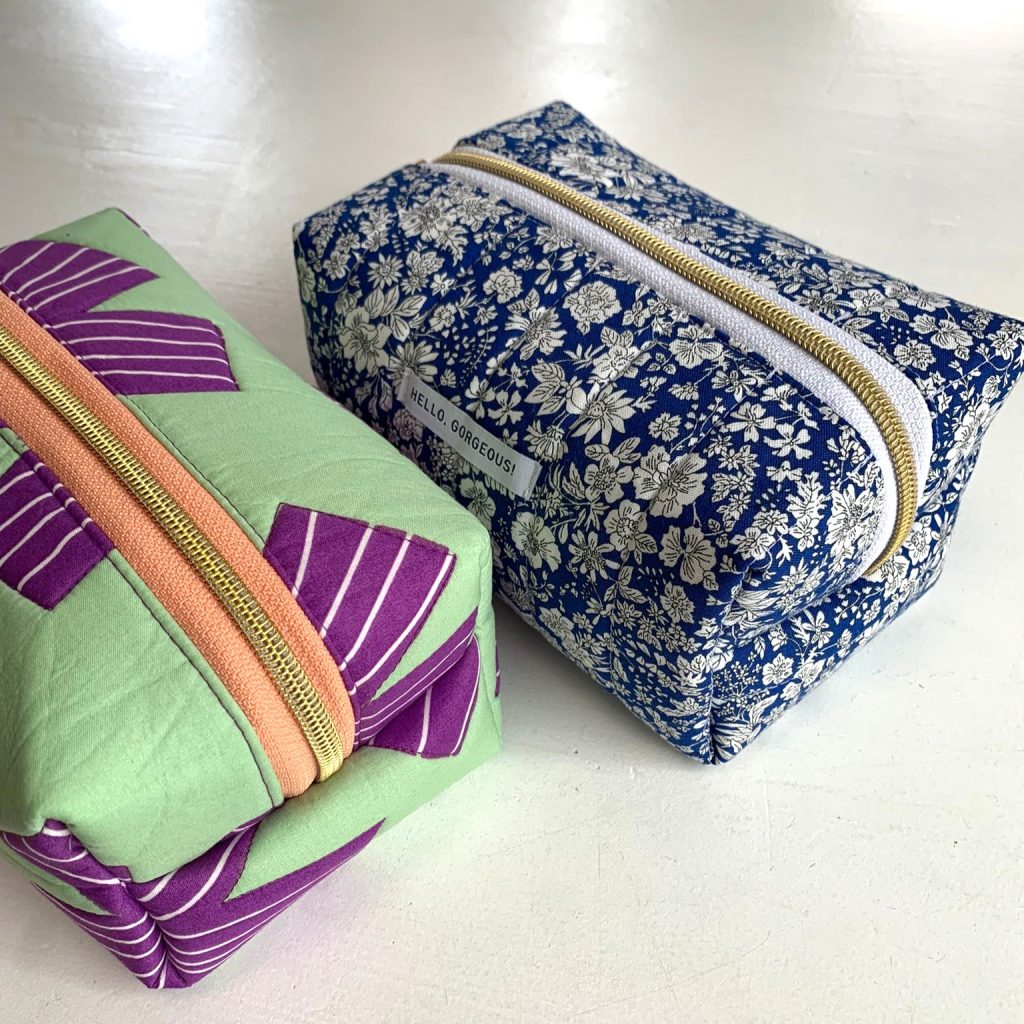
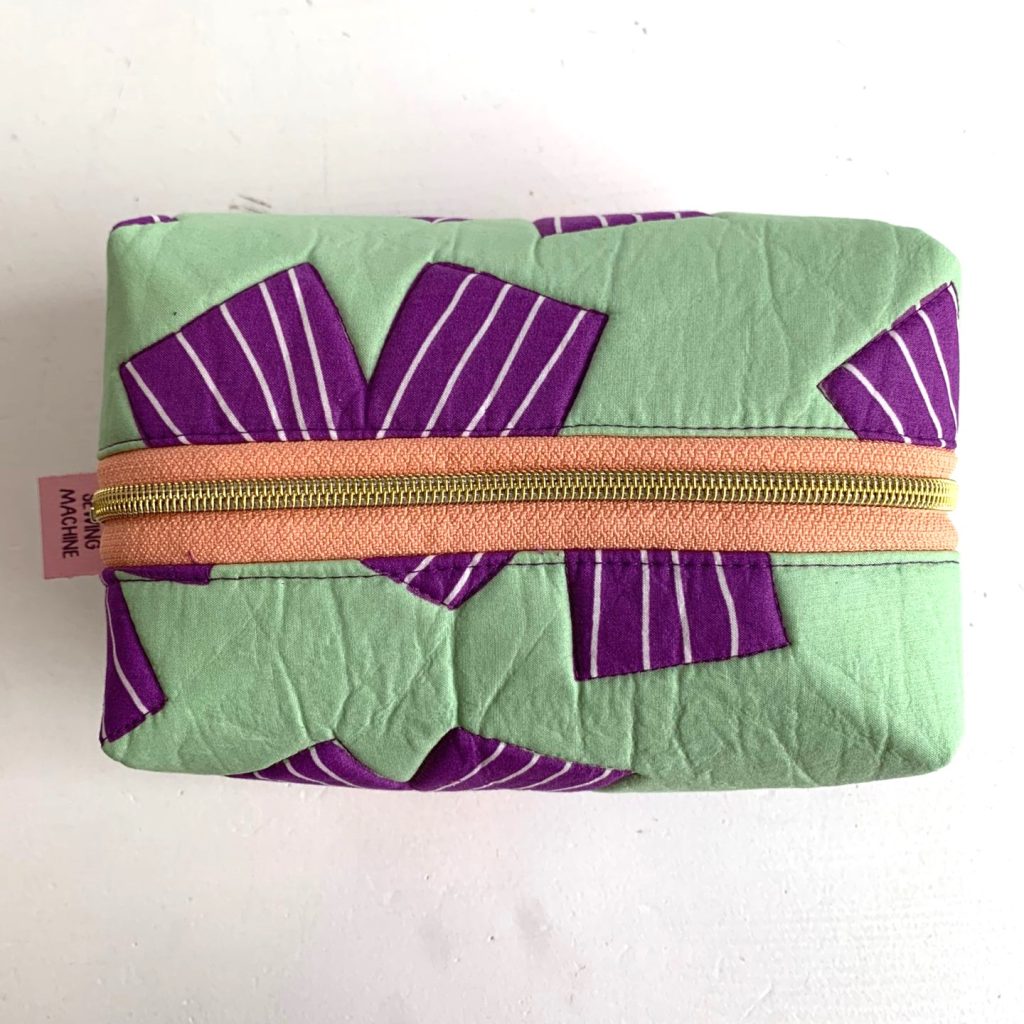
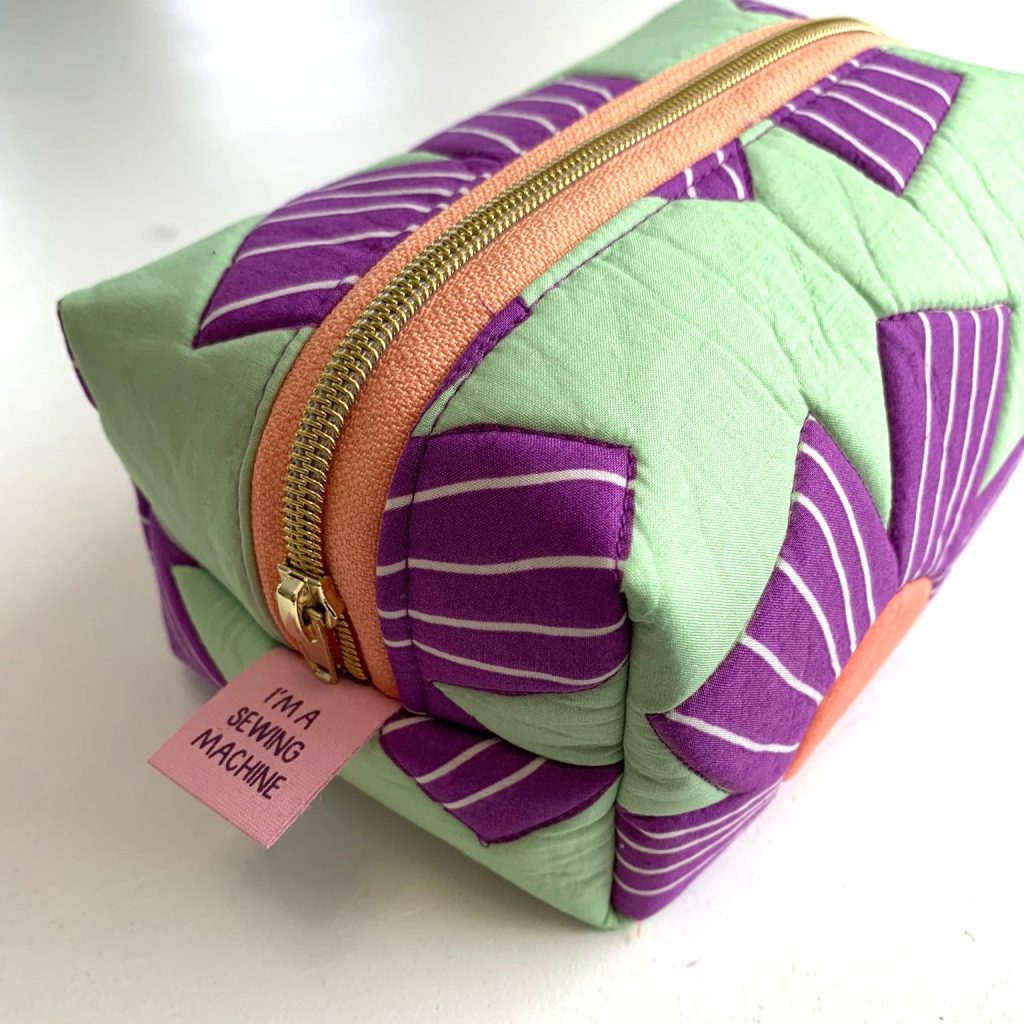
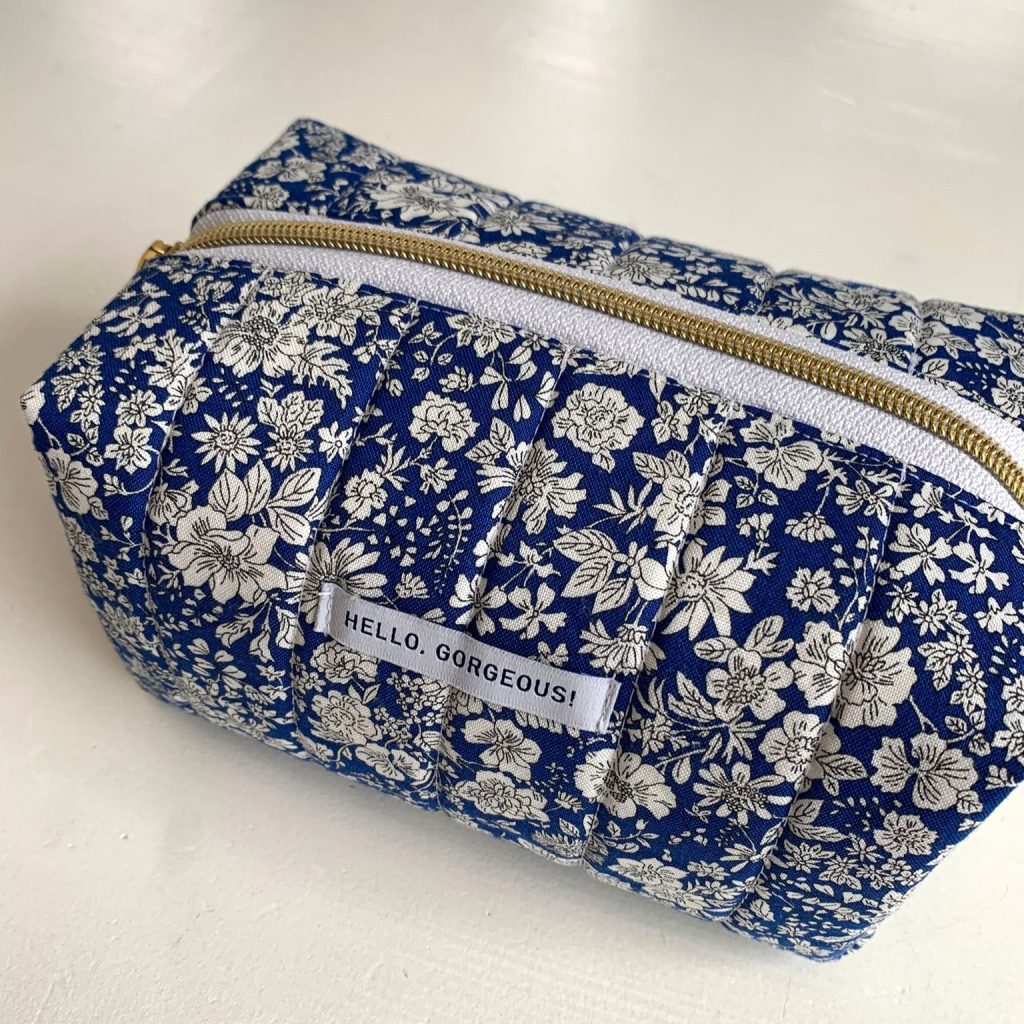
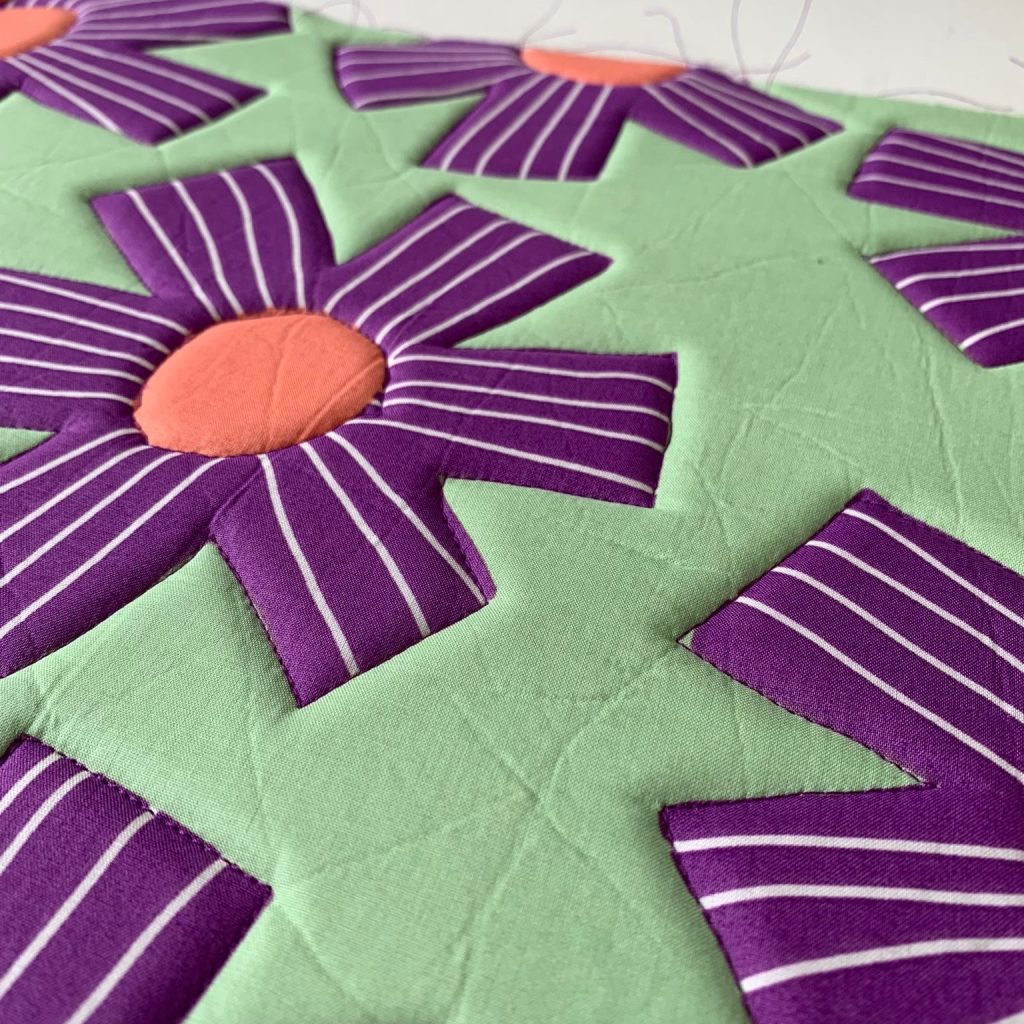
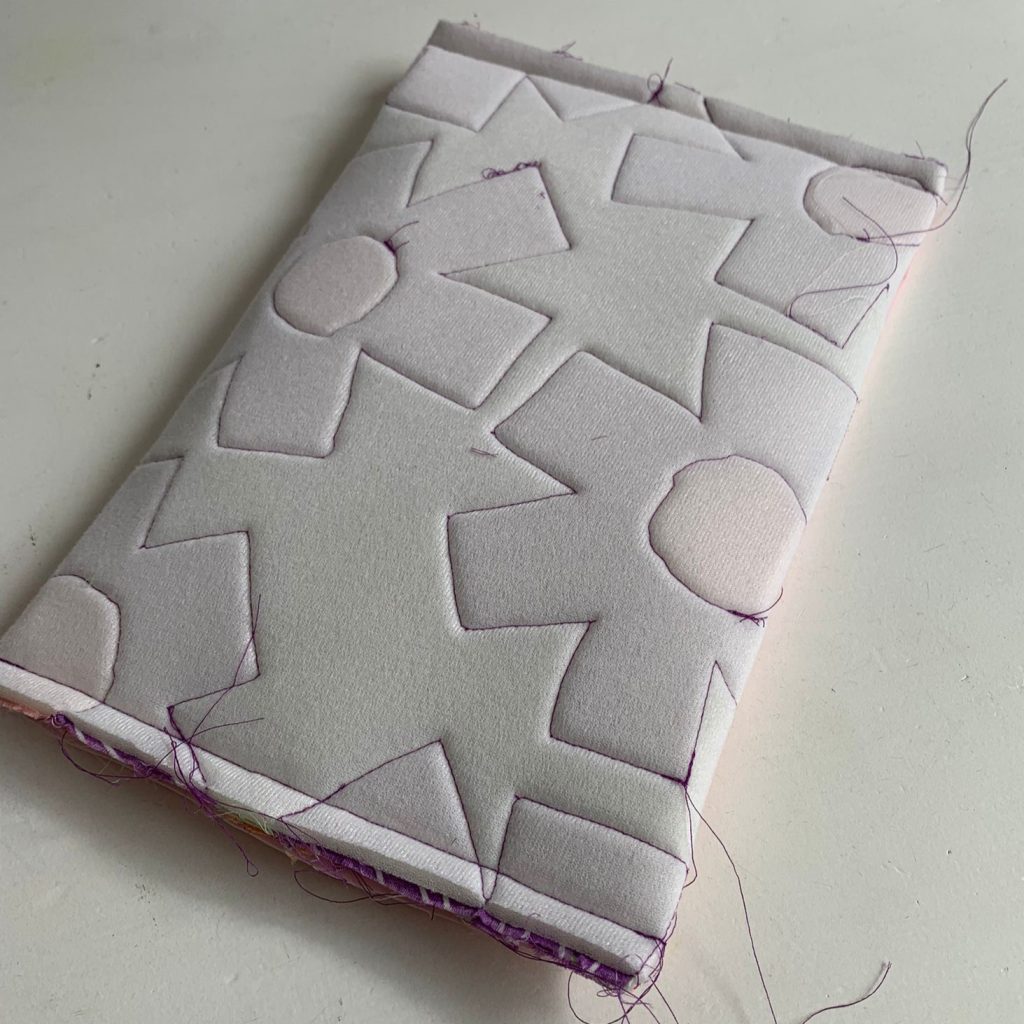
Stap 2. Indien je een leuk patroon hebt zoals bij onze bloemenstof stik de stof door op de style vil voor een leuk 3D effect, of in een ander quiltmotief zoals lijntjes of in ruitvorm. Indien je een labeltje aan de buitenkant wil, stik hem dan nu alvast door op de stof (zie blauwe etui) of naai deze later vast met de hand.
Step 2. If you have a nice pattern such as our floral fabric, stitch the fabric onto the style felt for a nice 3D effect, or in another quilt motif such as lines or a diamond shape. If you want a label on the outside, stitch it onto the fabric now (see blue pouch) or sew it on later by hand.
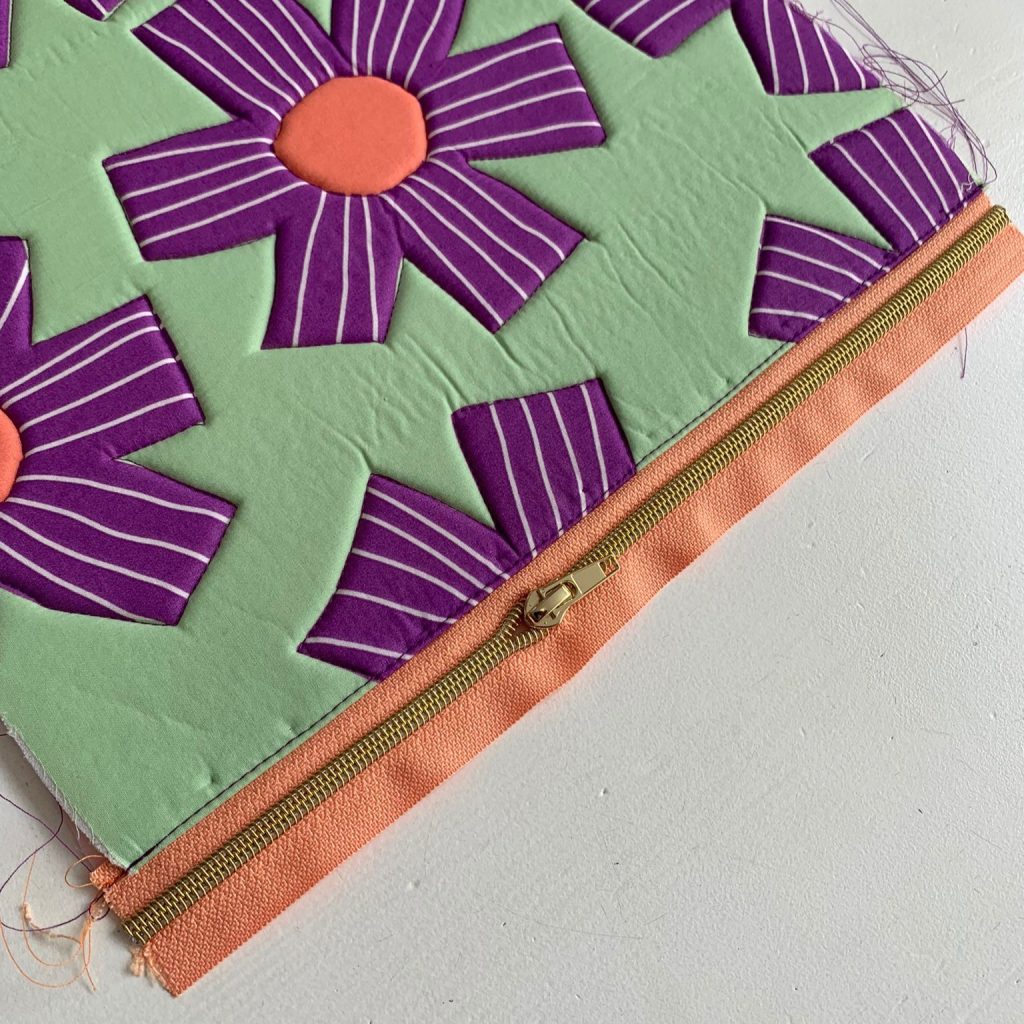
Stap 3. Speld de rits van 30cm vast met de goede kant op de goede kant van de stof aan de korte kant (30cm kant). En stik deze vast. Zit de runner in de weg dan kun je tijdens het naaien, je voetje optillen en de runner naar achteren schuiven, voetje weer op de stof zetten en weer verder stikken. Of schuif de runner er nog NIET op en open de rits linten zodat je 2 lossen stukken hebt.
Step 3. Pin the 30cm zipper in place with the right side on the right side of the fabric on the short side (30cm side). And stitch it in place. If the runner is in the way, you can lift your foot while sewing and slide the runner back, place your foot back on the fabric and continue stitching. Or DO NOT slide the runner on yet and open the zipper ribbons so that you have 2 loose pieces.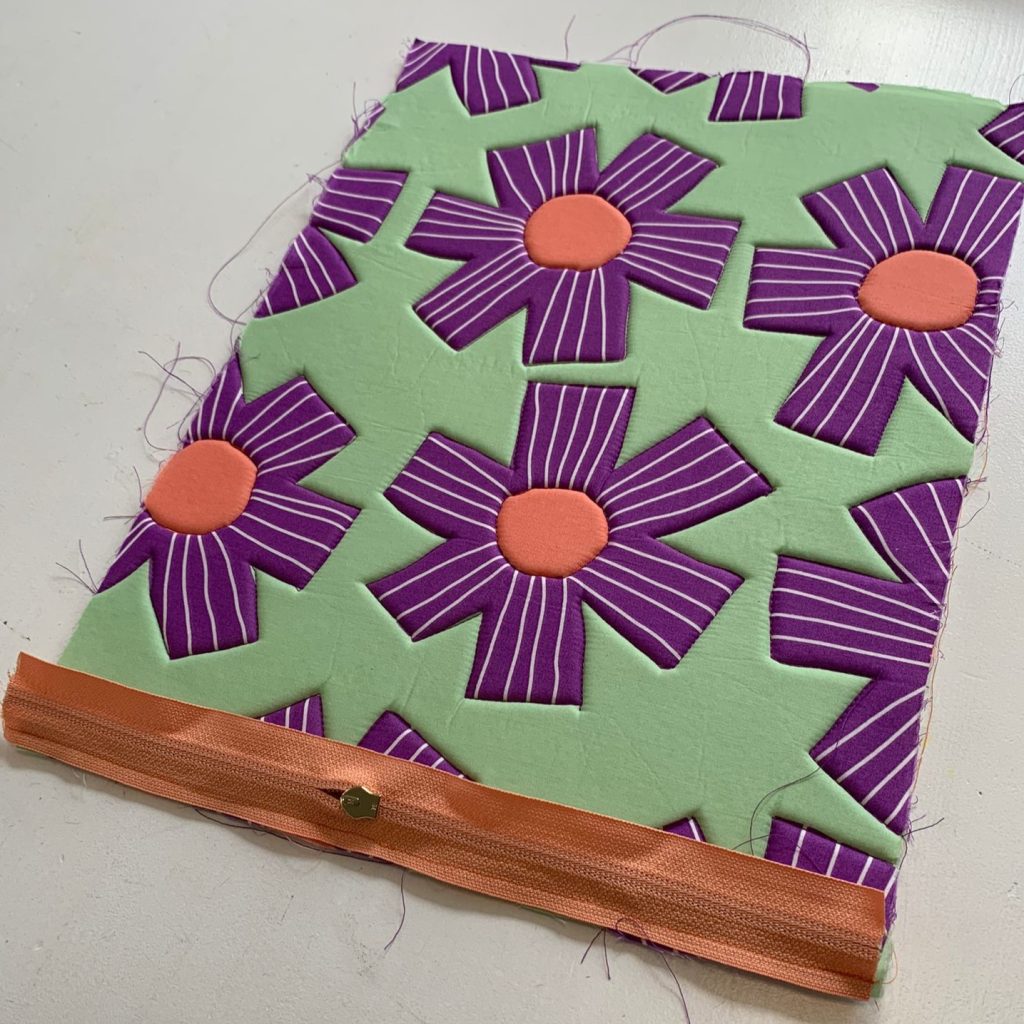
Stap 4. Stik de voering aan de verkeerde kant van de rits, zo sandwich je de rits tussen de stoffen.
Step 4. Stitch the lining on the wrong side of the zipper, sandwiching the zipper between the fabrics.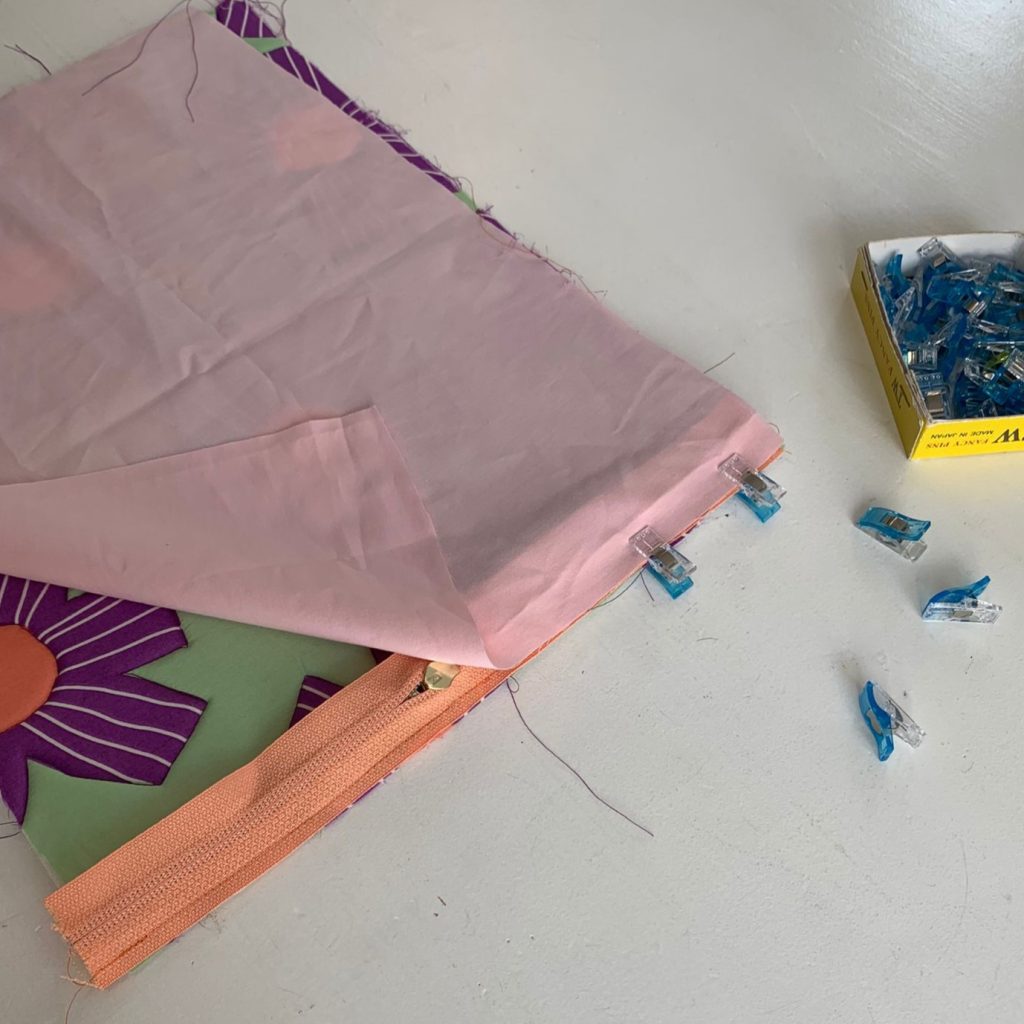
Stap 5. Strijk de naad plat en stik deze door met een grotere steeklengte, bijv. 3.5.
Step 5. Press the seam flat and topstitch it with a larger stitch length, e.g. 3.5.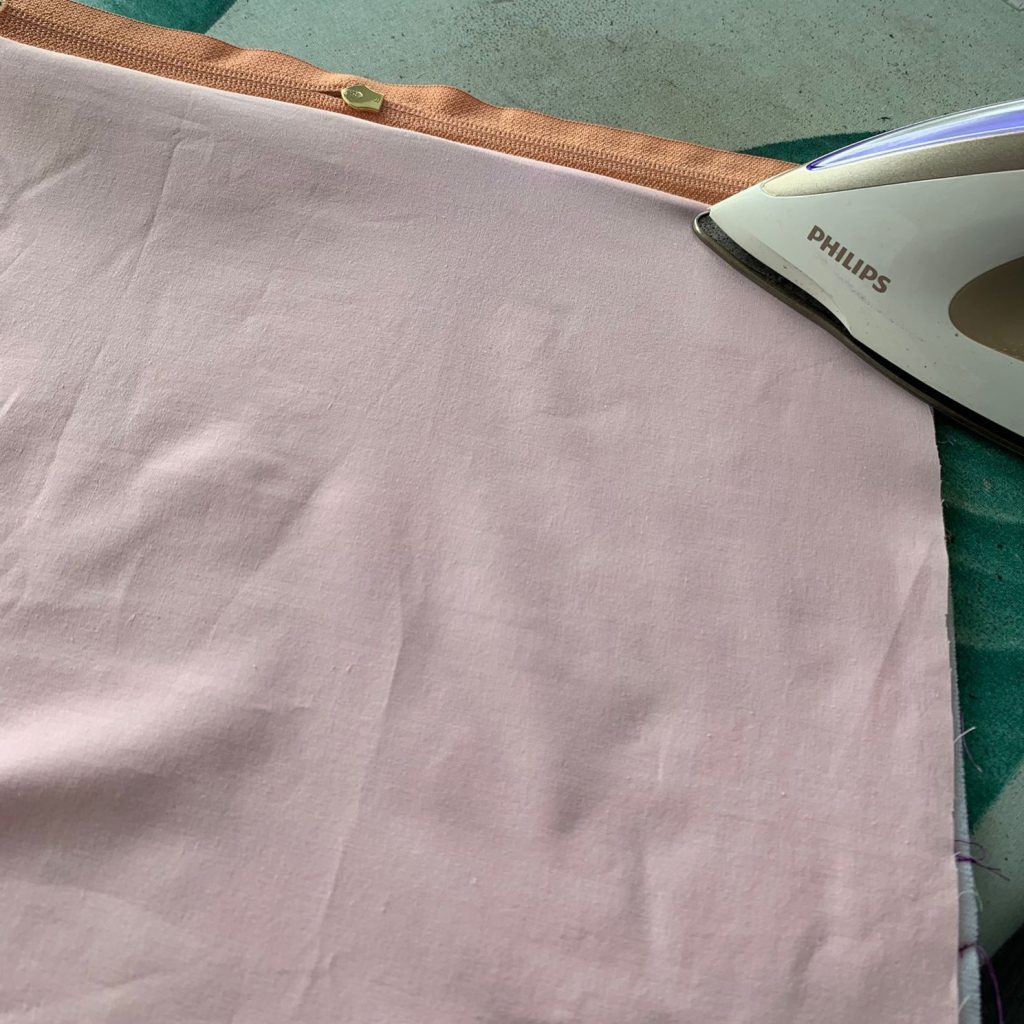
Stap 6. Herhaal stap 3 en 4 aan de andere kant van het rits deel. Eventueel maak je de rits hier al open zodat je 2 losse rits linten hebt. Wat voor jou makkelijker is.
Step 6. Repeat steps 3 and 4 on the other side of the zipper part. If necessary, open the zipper here so that you have 2 loose zipper ribbons. Whatever is easier for you.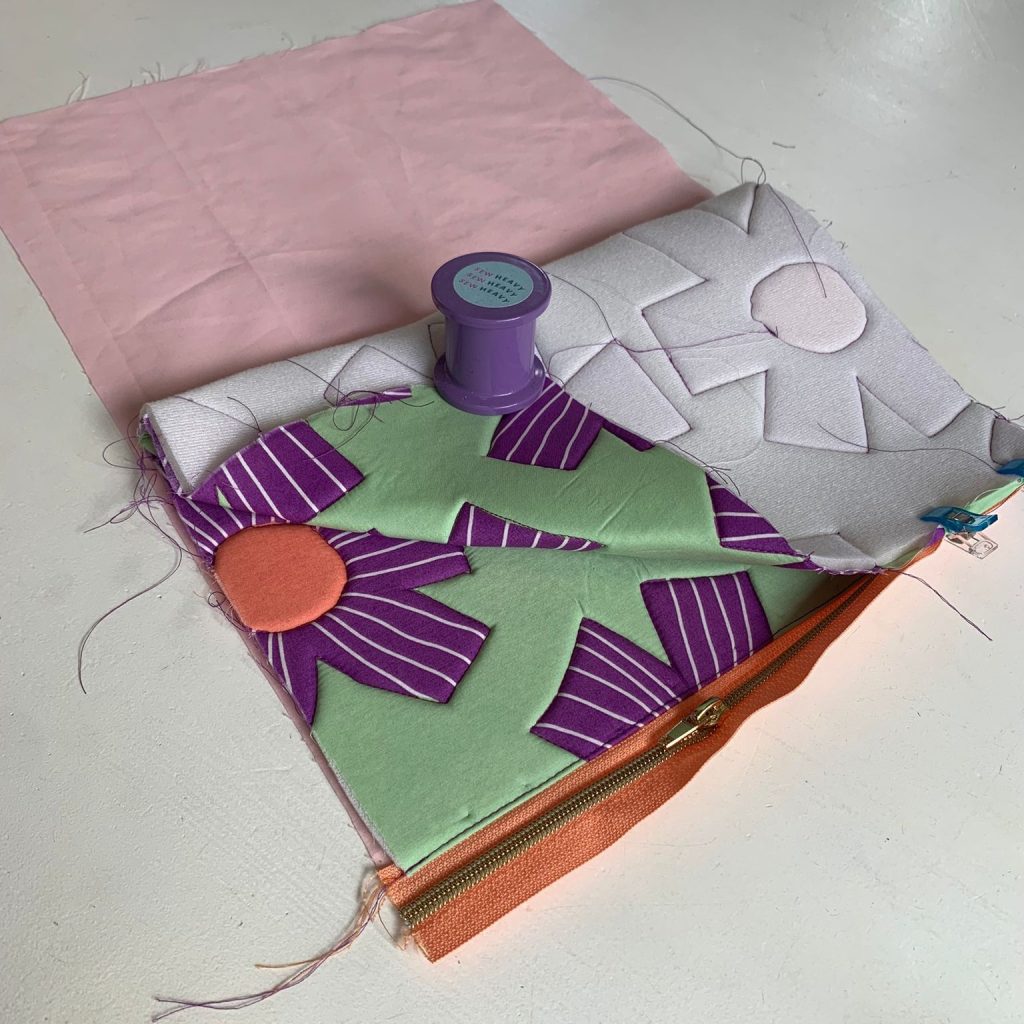

Stap 7. Maak de rits open, zodat je stap 5 , het doorstikken van de stof, kunt herhalen aan de andere kant. Schuif daarna de runner er weer op. Trek hem helemaal door zodat de rits weer aan elkaar zit en schuif hem dan een derde keer erop en laat de runner in het midden een opening maken. Maar zorg dat de zijkanten van de rits dicht zitten.
Step 7. Open the zipper so that you can repeat step 5, topstitching the fabric, on the other side. Then slide the runner back on. Pull it all the way through so that the zipper is back together and then slide it on a third time and let the runner make an opening in the middle. But make sure the sides of the zipper are closed.Stap 8. Leg het etui plat en zorg dat de rits in het midden zit. Je hebt nu een laag buitenstof/stylvil en de voering die plat op elkaar liggen. Indien je een label wilt, dan stop je deze er nu tussen bij de rits. (zie mint bloem etui) Naai deze zijkanten die ‘open’ zijn aan beiden kanten helemaal dicht. Zorg dat je alle lagen goed mee stikt zodat je niet na omkeren nog spiekgaatjes hebt.
Step 8. Lay the pencil case flat and make sure the zipper is in the middle. You now have a layer of outer fabric/style felt and the lining lying flat on top of each other. If you want a label, put it in between the zipper now. (see mint flower pencil case) Sew these 'open' sides completely closed on both sides. Make sure you stitch all layers properly so that you don't have any peep holes after turning.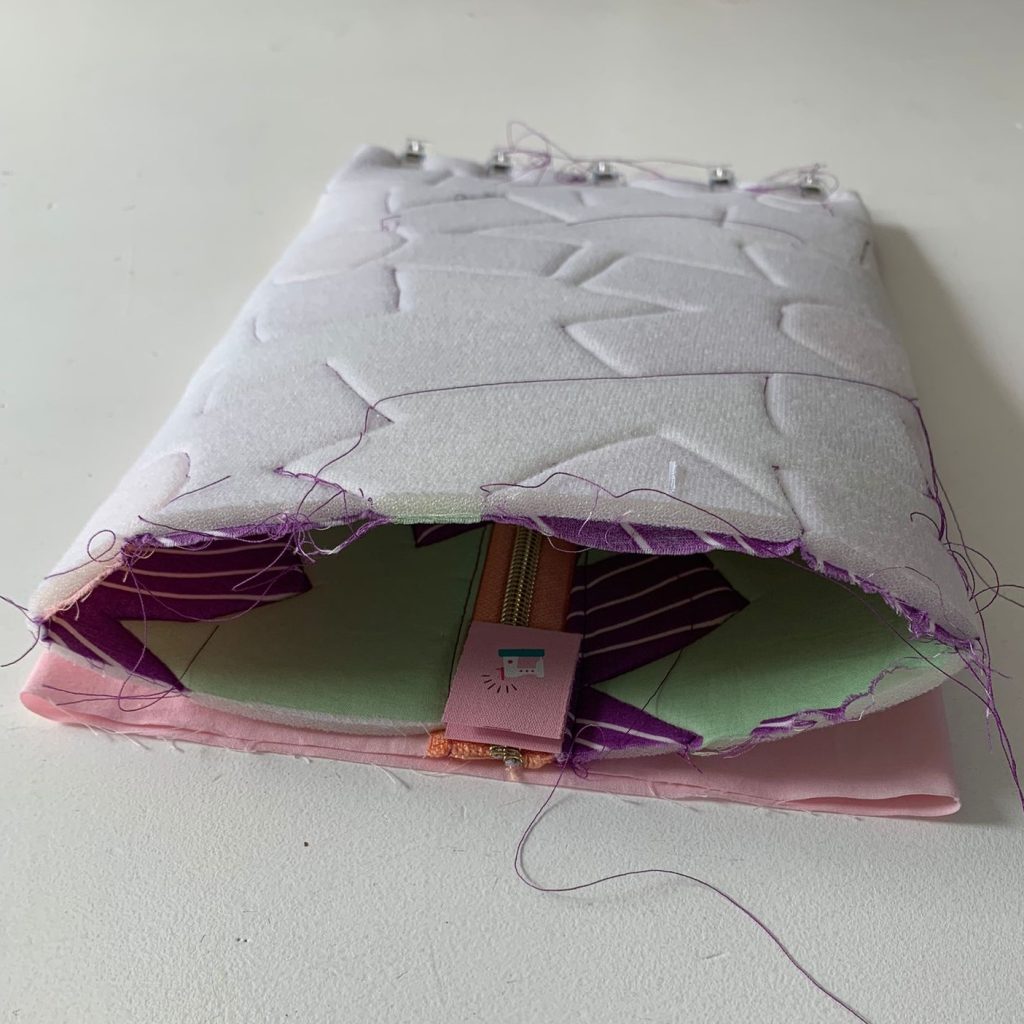
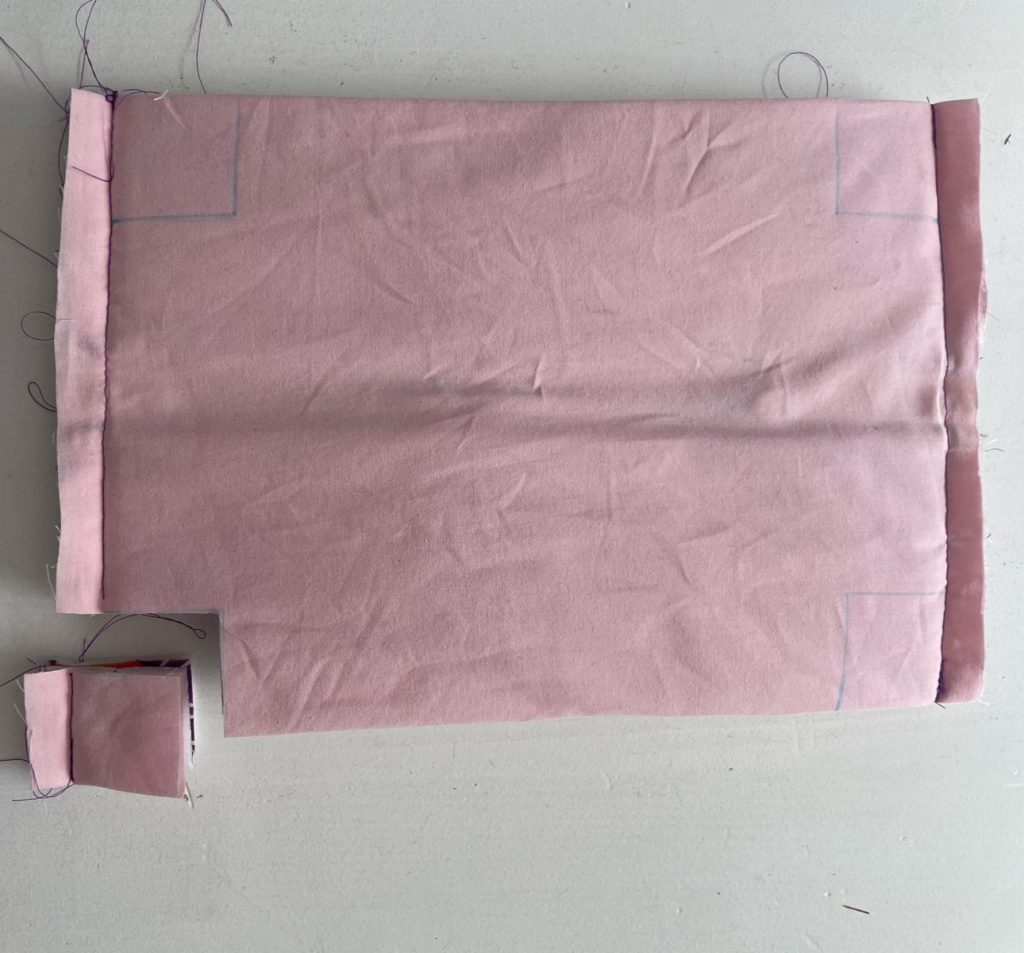
Stap 9. Knip uit elke hoek een vierkant van 4x4cm. Hecht waar nodig het stiksel nog even af zodat het niet open gaat.
Step 9. Cut a 4x4cm square from each corner. Where necessary, tie off the stitching so that it does not open.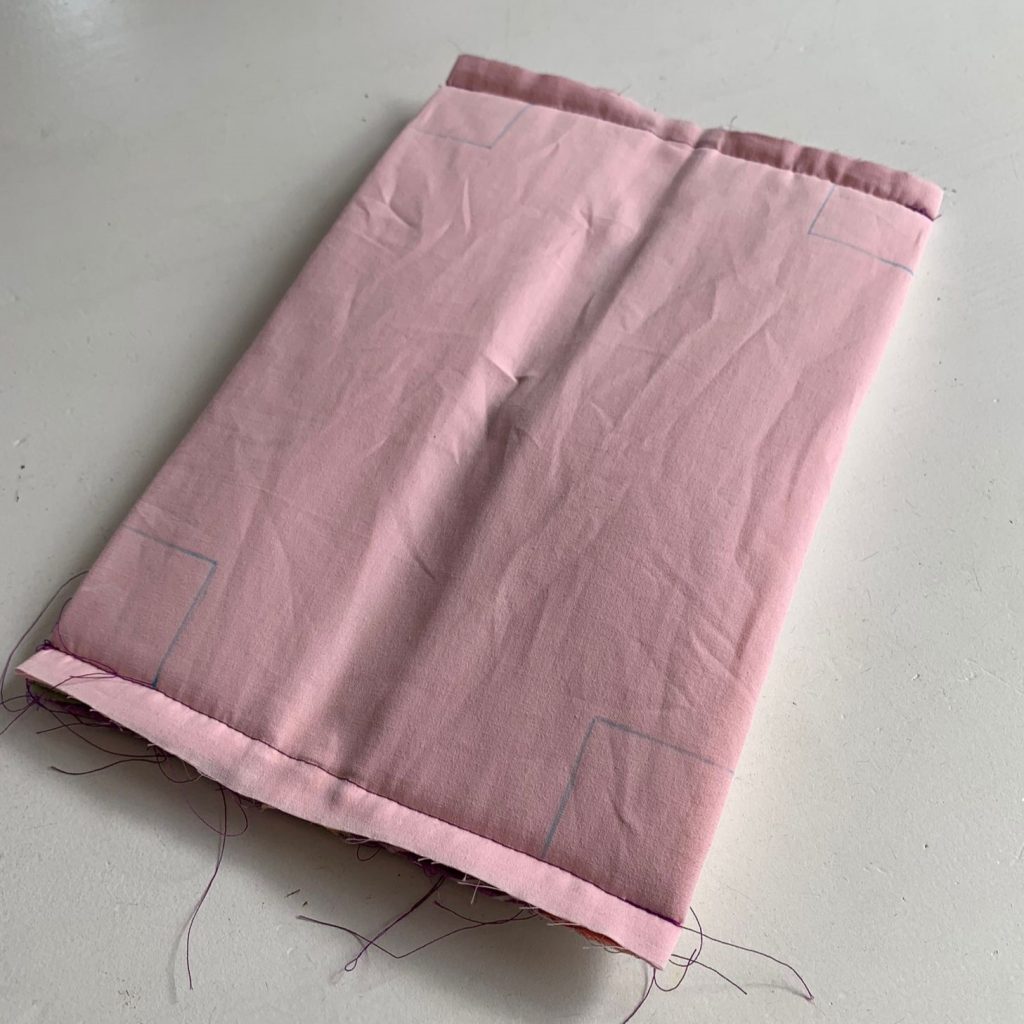
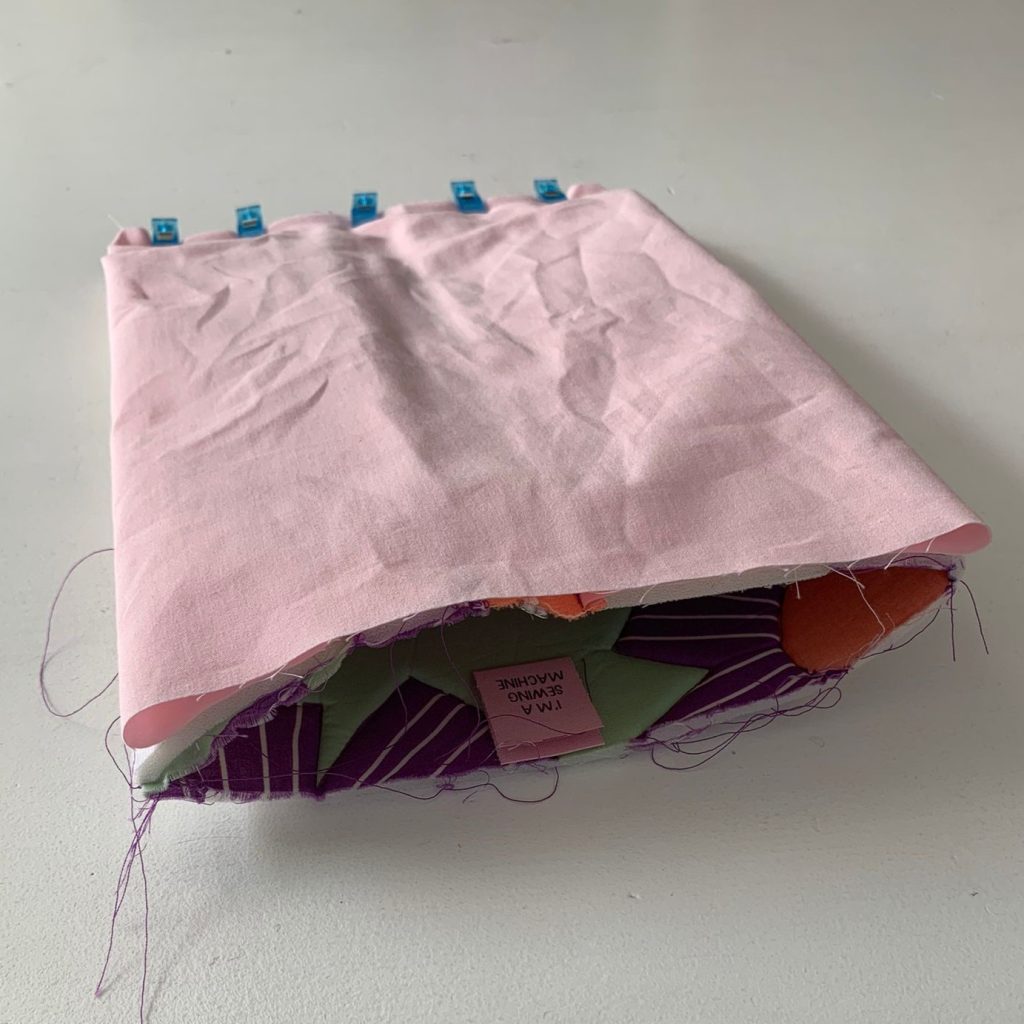
Stap 10. Zie video hieronder. Trek de hoek open en vouw plat op elkaar zodat je al een 3D vorm, boxy vorm ziet verschijnen. Leg zowel de buitenstof/ stylvil als de binnen stof op elkaar! Naai deze vast, check ook hier goed dat je alle lagen mee stikt en dat de ‘hoeken’ even groot zijn. Herhaal dit bij 3 hoeken, bij de vierde hoek stik je alleen de buitenstof op elkaar, zorg dat je daar de binnen stof NIET mee stikt.
Step 10. See video below. Pull open the corner and fold flat on each other so that you already see a 3D shape, boxy shape appear. Place both the outer fabric/stylevil and the inner fabric on top of each other! Sew this in place, also check carefully that you stitch all layers and that the 'corners' are the same size. Repeat this at 3 corners, at the fourth corner you only stitch the outer fabric together, make sure you do NOT stitch the inner fabric with it.Stap 11. Zie video hieronder. Via het gat bij de binnen stof keer je je etui om naar de goede kant via de ritsopening. Zorg altijd dat je een de tegenovergestelde hoek als eerste probeert om te keren, dus dat wat het verst weg is van het omkeergat.
Step 11. See video below. Turn your pencil case over to the right side through the hole in the inner fabric via the zipper opening. Always make sure you try to turn the opposite corner first, i.e. the one furthest away from the corner.Stap 12. Check of alles goed zit en naai dan als laatste de opening dicht. Dit lukt niet in 1 keer, maar in twee delen zie de foto met de 2 speldjes.
Step 12. Check that everything is in place and then finally sew the opening closed. This cannot be done in one go, but in two parts, see the photo with the 2 pins.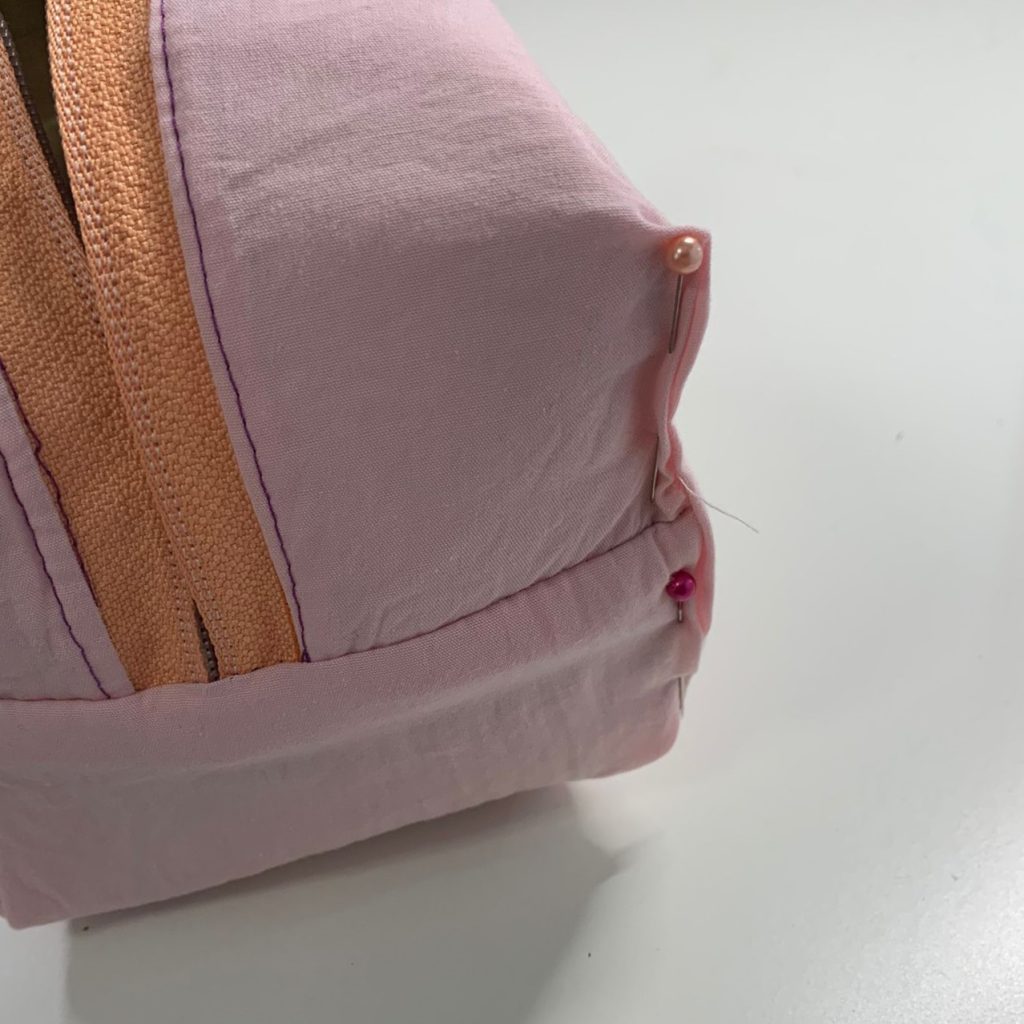
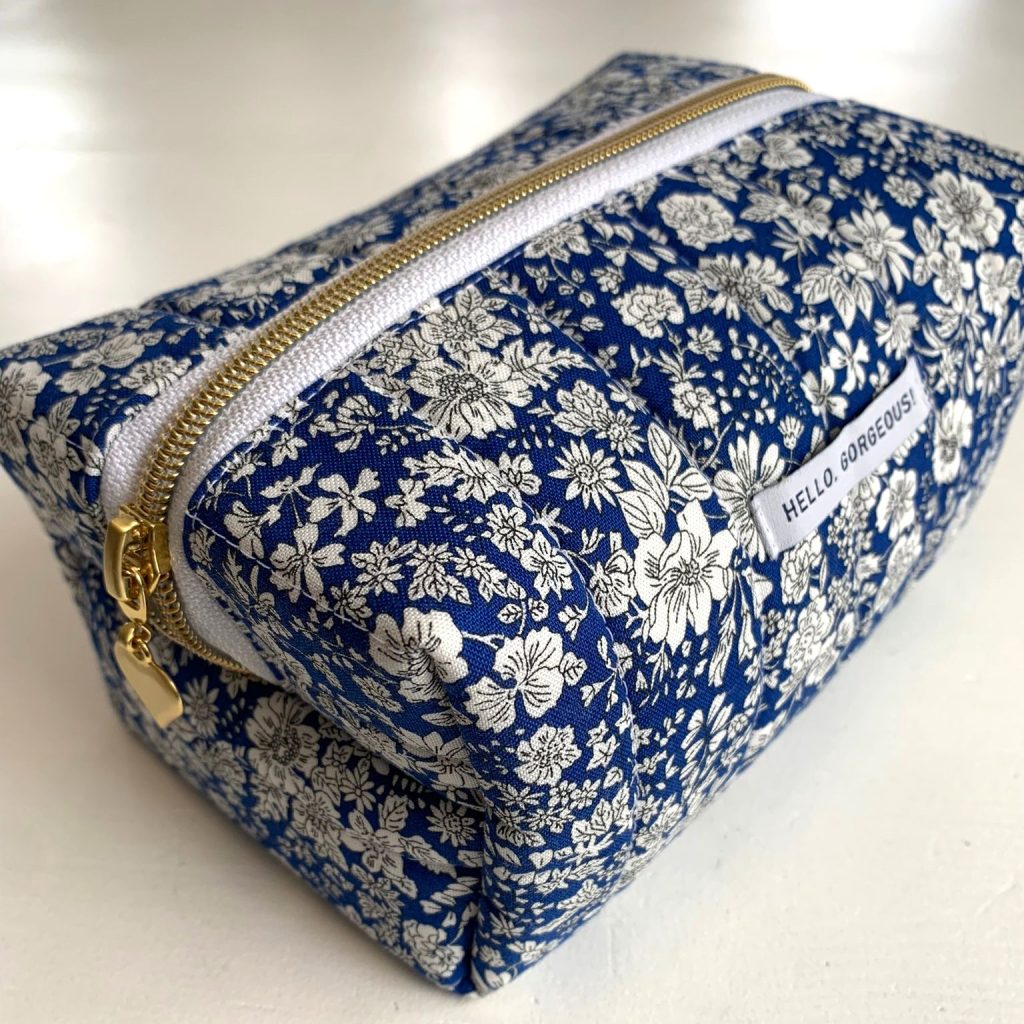
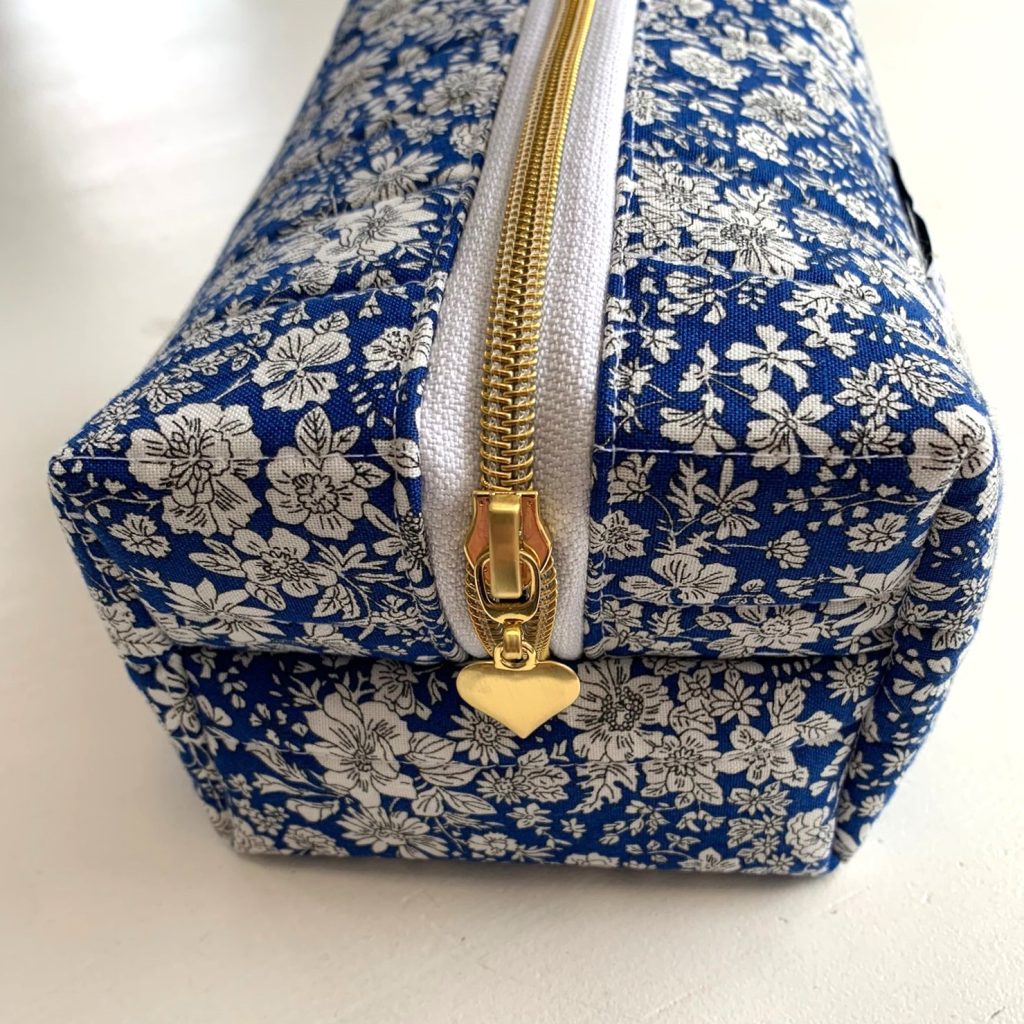
Stap 13. Omkeren maar en je bent klaar. Leuk hè, hoeveel ga jij er maken? Speel gerust met de afmetingen voor een groter exemplaar zoals 40/50 50/60 cm.
Step 13. Just turn over and you're done. Nice, how many are you going to make? Feel free to play with the dimensions for a larger one such as 40/50 50/60 cm.Tag ons gerust #boxyetuidaan #ansjestoffen #ansjehandmade @ansje.stoffen.naailessen
Groetjes
Danielle en de rest van Team Ansje
Feel free to tag us #boxyetuidaan #ansjestoffen #ansjehandmade @ansje.stoffen.naailessen Greetings
Danielle and the rest of Team Ansje